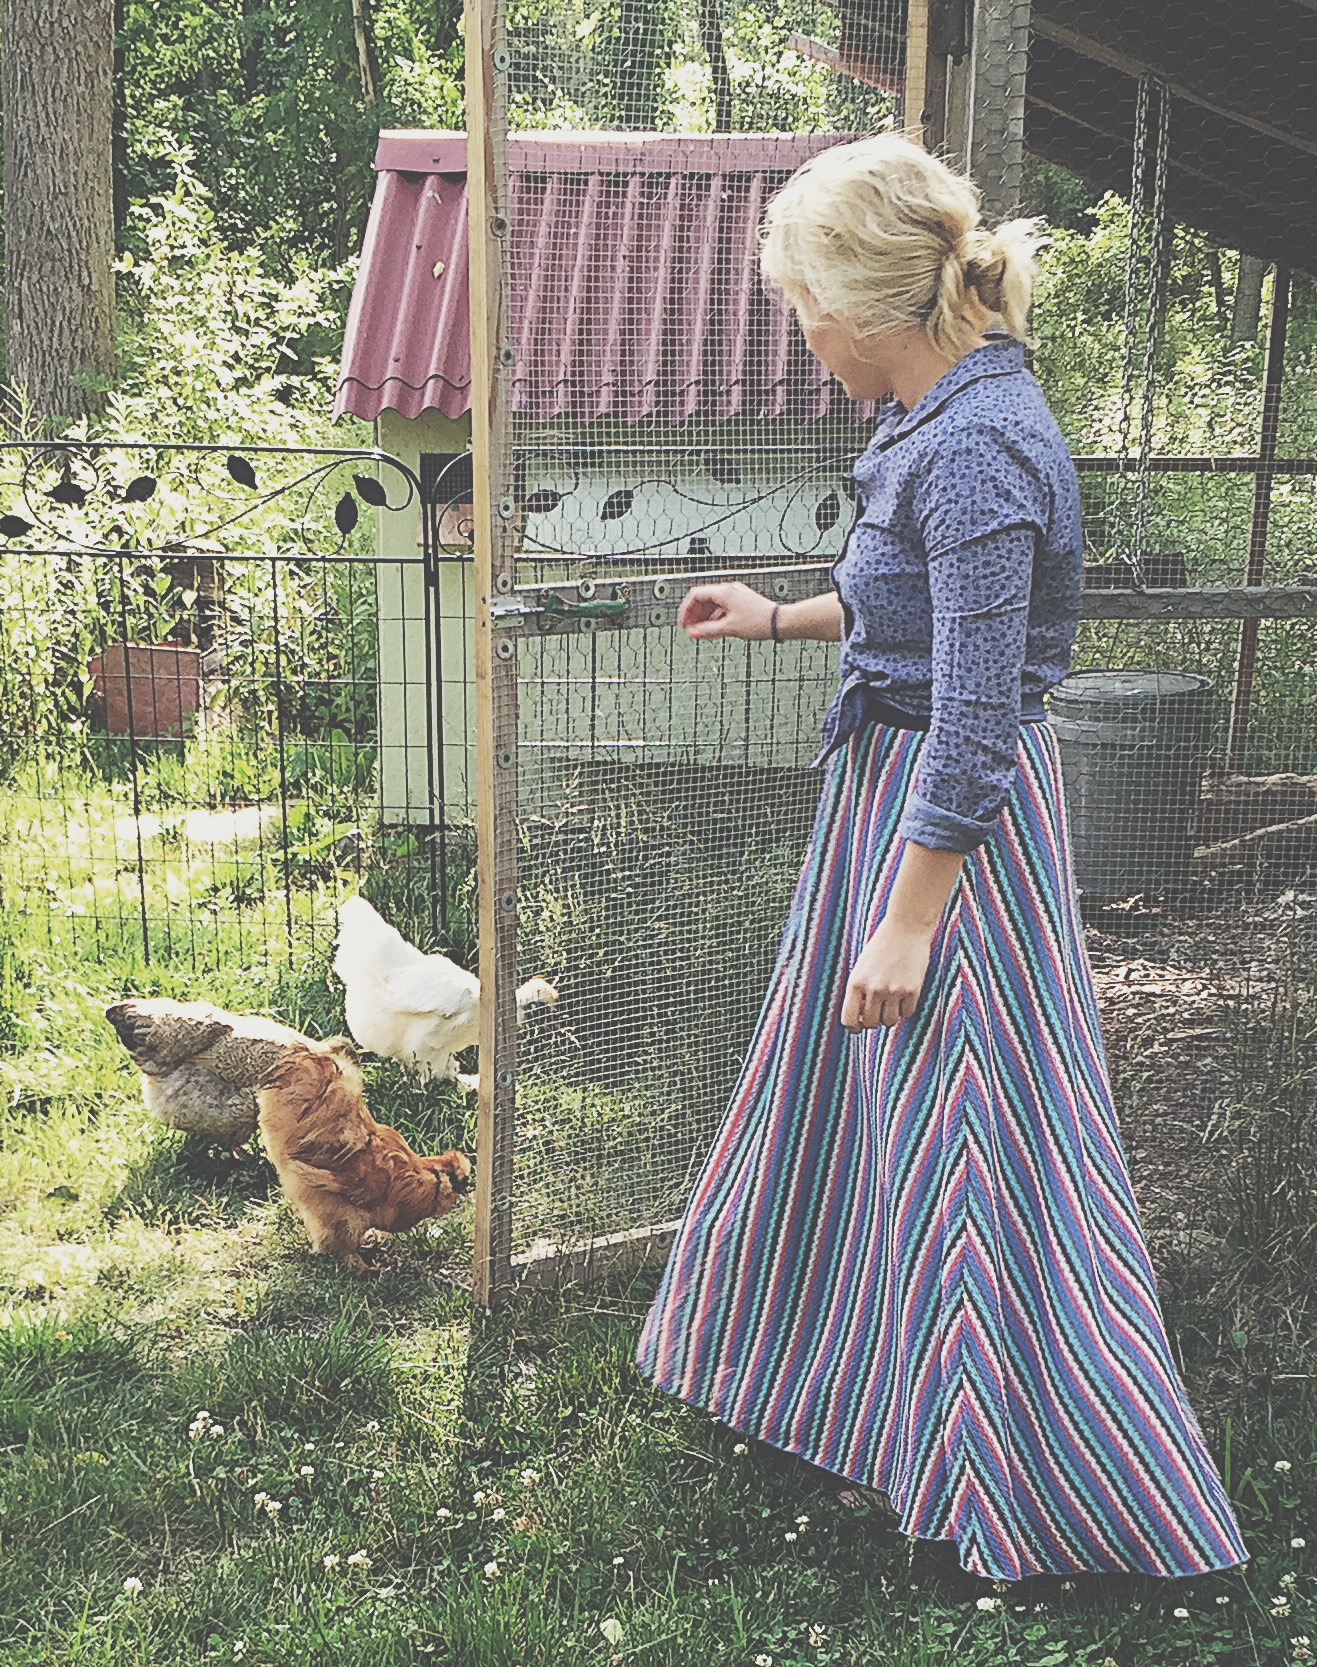
Raising baby chicks is such an exciting, and rewarding experience. If you have kids, it becomes even more magical, and they LOVE getting involved!
Caring for chicks is generally pretty easy, but there are some very important things you must know before you go diving into poultry ownership. Especially when they are the size of a cotton ball. ?
Disclosure: This post may contain affiliate links from which I will earn a commission at no extra cost to you. Thanks for your support!
Baby Chicks Need HEAT.
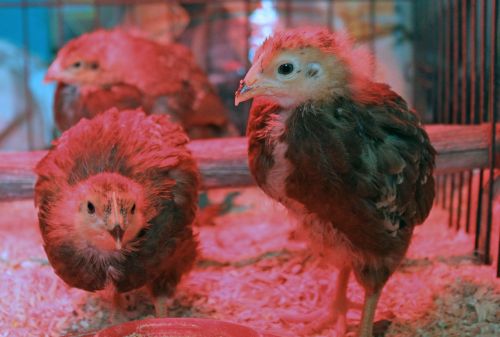
This is one of the most important factors to raising baby chicks successfully. Baby chicks need to stay warm, and without the proper heat (or if they become too hot) they will die quickly. This may sound intimidating, but it is fairly easy to keep the right temperature on your chicks, and there are a few different options for doing so!
TOOLS FOR KEEPING CHICKS WARM
- Heating Lamp and Infrared bulb. – This is the most common and cheapest way to keep heat on your little tiny fluffy-butt babes. You will need to either hang the lamp from something above, or get a lamp with a clip that you can move to different locations in order to provide more or less heat to the chicks.
- Brinsea Ecoglow heating plate – Or you can go with something like this. I prefer these heating plates over the lamps, even though they are a bit more expensive up front. Why? Well, lemme tell ya…
1. They are not a fire hazard like the heating lamps… If your lamp decides to rebel against the clamp holding it above your baby chicks and it falls into their bedding… bad news bears. (unlikely occurrence, but if you are a worry wart like me, you get it)
2. Baby chicks can decide whether they WANT to be under the heat source. The heating plates more closely mimic that of a mother hen keeping her chicks warm. The babies go underneath her when they are chilled, and come out when they are toasty and ready to explore! The plate works in the same way. If you have a big enough brooder, a lamp could be used in this way as well, but it is more likely to heat up the entire brooder, where the heating plate will not.
3. You do not have to lessen the heat each week like you do with the lamp. The chicks decide whether they want to be under the heat or not for themselves.
4. They suck up less power than the heat lamps.
So yes, they are a bit more of an investment up front, but remember, they will work for years to come without replacing any light bulbs… Plus, you won’t have to worry about your house or barn burning down…. so there’s that.
JUST HOW WARM DO THESE BABIES NEED TO BE?
Assuming you have bought day old fluffy baby chicks, they will need to be kept at a temperature between 90 and 95 degrees during their first week.
Starting at Week 2, if you are using a heat lamp, you will need to reduce the heat by 5 degrees each week.
- Week 1 – 90-95 degrees
- Week 2 – 85-90 degrees
- Week 3 – 80-85 degrees
- Week 4 – 75-80 degrees
- Week 5 – 70-75 degrees
- Week 6 – 65-70 degrees
Continue this pattern until your chicks are fully feathered out, and acting like they do not need the heat any longer. You will want to have a thermometer like THIS ONE in their brooder to make sure the temp is where you want it to be. Be sure to position the lamp so that it is on one side of the brooder so they have lots of room to get away from the heat when desired.
If your babies are all piled on top of one another and chirping a lot, they’re too cold. If they’re spread out, trying to avoid the heat lamp, and/or panting, they might be too hot.
When they spend most of their time away from the heat lamp, it is probably time to raise it up or even take it away completely.
Like I mentioned above, if you are using one of the heating plates instead, you do not need to decrease the temperature. Simply raise the plate up as the chicks grow so they are still able to fit underneath it!
You will need a Chick Brooder
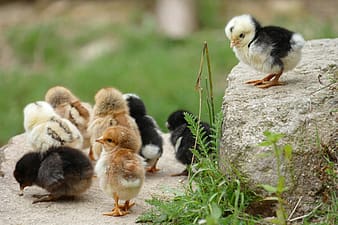
A chick brooder is going to act as your tiny chicken’s home while they are growing their warm adult feathers! This is where they will be kept, along with their heat source, their food and water, and some kind of bedding to catch all their little droppings!
I would highly recommend setting up a place for their brooder indoors at least for the first few weeks so you can keep an eye on your new crazy mini chickens. I have used my spare bedroom, my basement, and my mudroom in the past!
There are several options for chick brooders out there, and you can be as fancy, or red-neck as you’d like. … No shame in our game.
Here are some of my recommendations, and brooders that I have used in the past!
1. A Cardboard Box – aka redneck brooder… ? This is your simplest and cheapest option. (That I have found anyway) You will need a box that is long and deep enough, and eventually, when the little buggers learn how to fly, you will need something to place over the top of it to keep them in! (chicken wire, or some other breathable covering) I used a large cardboard box once and I taped Duct Tape along the entire bottom of the box so that it was waterproof and easy to clean up!
Thank God for Duct Tape.. Am I right?
2. A plastic storage bin – This is another simple and fairly cheap option. Pick up a large storage bin at your local hardware store, Walmart, or HERE on Amazon, and place bedding, food, water, heating source, and of course baby chicks inside…. presto. You got a brooder! Again, you will need something to cover the top when the babies learn how to fly.
3. Purchase a brooder – This is not the cheapest option of course, but still affordable, plus, it is easy, and should last awhile. There are some really neat brooder options available out there. I will link one of my favorites below.
*NOTE – You will need to use plastic or something waterproof underneath this brooder.
4. A wire small animal cage or wire dog crate – I have used both of these options as well and I really liked doing it this way because there is already a built in lid. When I used the dog crate though, I did tape in cardboard around the edges to help keep the mess inside of the crate instead of all over my basement floor. Messy little things they are. The small animal cages (typically made for bunnies or guinea pigs) work nicely as well, and already have the built in sides to help keep the wood chips inside.
5. Build one yourself from wood and wire. – aka fancy pants option – This is a great option if you enjoy DIY projects and have the time to put into it. You can build it whatever size you’d like, put in a vinyl floor for easy cleaning, and build a lid that is easy to remove when needed.
Whichever you decide to go with, make sure the brooder is plenty big enough for the chicks to have their own space and run around. You don’t want them trampling one another, which unfortunately can happen if they are really cramped.
You will need to clean out the brooder at least once or twice a week, possibly more if you have a lot of babies. I use pine shavings as bedding for mine. To clean out, remove your little fluffy butts from their brooder, place them in another safe bin or box, scoop out the old bedding, wipe the bottom with some warm water mixed with dawn dish soap (if needed) and add new bedding!
Oh, and don’t forget to return the fluff balls back to their humble abode. ❤️
I use a mini broom like and dust pan like THIS ONE to scoop out the old chips
*NOTE – do not use cedar wood chips as their strong aroma can be very hard on animal’s respiratory systems. Stick with PINE shavings, shredded paper, or straw.
Baby Chicks need to eat too!!
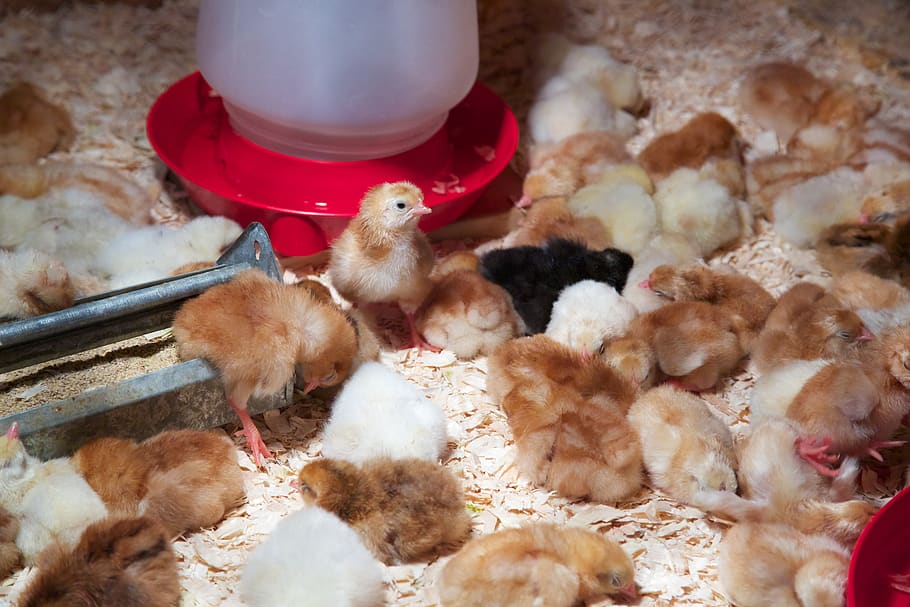
Like all of God’s creatures, baby chicks gotta eat too!
Most of the supplies you will need can be ordered on Amazon with free delivery if you have Prime, which makes it really convenient. A lot of the items are prime eligible which means they are delivered in 2 days with free shipping! Otherwise, you will be taking never ending trips to the feed store to fill those little bellies. (soon to be BIG bellies) You can try Amazon Prime for free for 30 days by clicking HERE. You can also set up automatic shipping options so you are sure to never run out. Again, soooo convenient.
Here is a list of things that you will need to keep your little ones strong, healthy, and well nourished!
1. Chick Starter Feed – I prefer the organic feed which you can find HERE, but I also like and have used Manna Pro’s brand HERE. They will need to be on starter feed for the first 8 weeks or so, and it should be available to them at all times. Follow the directions on the back of your bag, and move to grower feed when needed. Be sure to always switch foods slowly, adding more new food to the old food each day until totally switched over. This will help avoid stomach and digestive issues. You will also need a chick feeder to put the food in, I will link that HERE. I recommend getting the smaller feeders and waterers to start with so that they don’t take up too much room in the brooder. You can always get bigger ones later!
2. Chick Grit – In case you haven’t noticed, chickens don’t have toofers. (teeth ?) they grind their food up in their gizzards after it is already swallowed. Cool huh? Because of this, they eat tiny rocks which help grind of the food. When they are older and can scavenge around for their own little stones, and you won’t need to supply it, (unless they have no access to forage and finding stones) but when they are little, they will need you to provide these little stones for them… Chicken grit is used for this exact purpose. Place a small bowl of it in your brooder for them to scratch around in and eat, and keep it full for them!
3. Water – Water also needs to be available to your chicks at all times, and it needs to be kept clean. Which is the hard part… I’m telling you, they are messy critters! Change the water as often as necessary to keep it fresh for them. You will need a chick waterer, be sure to use one of the waterers meant for baby chicks, which I will link below, they can easily drown in a regular bowl. When the chicks get a little bigger, I like to put the waterer up on a rock or a brick, or hang it if possible, to help keep it a little cleaner.
*NOTE – When you first get your baby chicks, pick each one of them up and carefully dip their beaks into their water dish just a bit. This will help them to know where their water is and how to get it.
Baby chick first-aid supplies you should have on hand.
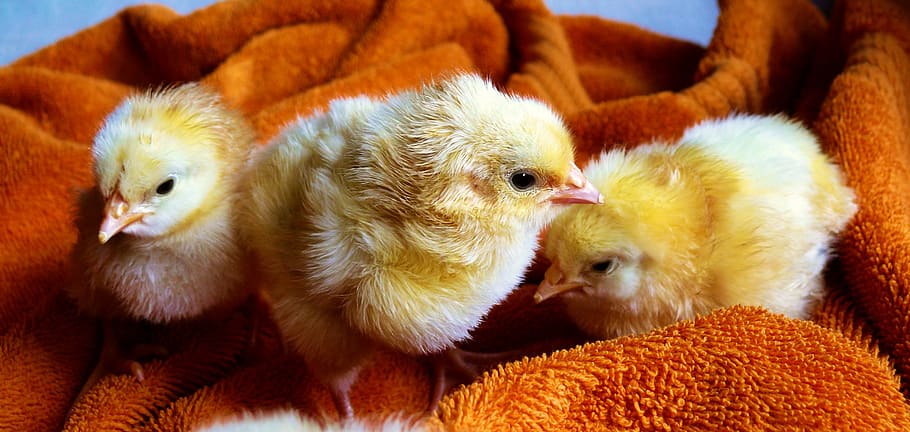
We have covered the necessities that you will need to keep your chicks happy and growing, but there are a few other things that I highly recommend that you have on hand in case you run into a problem with one of your babies.
1. Electrolytes – If you order your chicks in the mail, they will be shocked and stressed from the travel, you will want to give them electrolytes to boost their systems and get them feeling energetic again. The kind I use is in powdered form and you simply add it to their water. It is also helpful to use when the weather is really hot to help keep them hydrated. Any time your baby chick has gone through something stressful, this should be added to the water.
2. Pro-biotics – This is extremely beneficial to your chick’s gut health. I recommend using at least during the first week of life in their water, and then as often as you’d like after that. Baby chicks can get something called “pasty butt” Which, put simply, is basically baby chick diarrhea. When chicks get pasty butt, droppings can get stuck in their feathers and cover up their vent and make it difficult for them to have a bowel movement. This can kill a chick. Check each of your baby’s bottoms daily to make sure they are free and clear, and if they are not, gently clean the area with a washcloth and warm water to remove droppings. Pro-biotics can help prevent, or cure a pasty butt problem. (organic plain or vanilla yogurt can work in a pinch as well.)
*NOTE – If you are dealing with a pasty butt issue, you can try rubbing a drop of olive oil on the chick’s bum feathers to help prevent the poop from sticking to them when they go.
3. Neosporin (the kind without the pain relief) – Sometimes injuries occur, and putting a bit of neosporin on the wound will help prevent infection, and heal up your little friend quickly!
4. Blu-kote – Much like a neosporin in the animal world, Blu-kote helps heal wounds and keep them clean. It’s antiseptic and germicidal to help prevent infection. It is also Blue in color which helps prevent the other birds from picking at the wound… Oh ya, chickens love the color red, and they WILL pick on another injured bird, especially if the wound is bleeding, so it is important to treat an injured bird quickly, and hide any sign of it from the rest of your flock.
So where do I get baby chicks anyway?
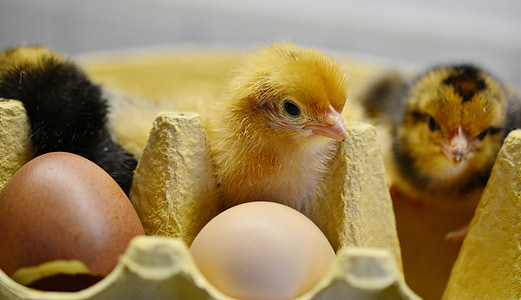
ONLINE – There are online hatcheries that you can order your babies from, although this is always a bit of a risk. They are sent at one day old through the mail. I did this one time, and my package got delayed, and I lost half of my baby chicks in the first 2 days. It was a traumatic experience for me and I felt terrible. This is not a common occurrence, and it was a record cold day in May (of course) that my babies had to travel through, but just be prepared that this can happen, and it’s awful. Even if your package does arrive on time, and it’s not cold outside, some chicks can still perish just from the stress of the trip.
FEED STORES – Local feed stores typically get baby chicks in every spring. I have had very good luck purchasing from tractor supply. If this is your first go round with baby chicks, I would suggest this option.
BREEDERS – Craigslist often has baby chicks for sale. Just be sure to do your research and ask the right questions to guarantee that the chicks are well-bred, and kept in a safe and clean environment free from disease. I would ask lots of questions about how they are kept, and would want to see the living quarters and condition of their adult birds before purchasing. All of that being said, I have also had good luck purchasing through craigslist, and it is a good way to support local poultry farmers. ?
HATCHING EGGS – You may also choose to purchase hatching eggs online! They are sold on eBay along with other locations. It can be a very fun experience to hatch your own baby chicks, but of course there are other supplies you will need, and more you will need to know before going this route.
and that’s it guys!! Over-all, baby chick care is pretty easy, and super fun too! They are the cutest little critters, which is a good thing, because they are messy as hell, and stink a bit too. ?
Have FUN!!! ❤️?
Have a question about baby chicks? Are there additional products/supplies that you use and recommend?
Let us know in the comment section below! We love to hear from YOU!
– Save this information for later, and help us spread the word by pinning this post to Pinterest!
Hover over or tap the photo on the left to see the Save option.
Want to learn about our favorite dual-purpose chicken breeds? A dual-purpose bird is perfect for any homestead or farm due to their ability to be amazing egg layers AND meat birds. Check out our post- HERE!
Interested in having dairy goats on your farm but unsure of which breed? Let us try and talk you into the Nigerian Dwarf Goat… Why? Read all about it – HERE.


Hey Sarae,
Indeed a very informative article. You have provided such a lot of small but important details which is great. It is great to get guidance from someone who has done this for a long time. I had never heard of chick grit or even the fact that they eat stones to help grind food. That is very interesting.
Thank you.
Thank you so much for stopping by! I am glad you found the article informative, and that you learned something new. 🙂
Thank you for this informative read. Although I don’t have any chickens or raise anything, I will be saving this article to come back to in case I ever decide to buy baby chicks. I know a friend of mine who raises chickens so I will be forwarding this article over to him. Thanks once again.
Great! Thank you so much for passing along. I do hope one day you decide to get chicks! It truly is an amazing adventure. 🙂